The weather has very much so not been cooperating. Ideal painting conditions would above 50degrees, or at least that in my garage. While Puxsatawney has been teasing us with not seeing his shadow (thus we should be getting an early spring!), it has definitely be been too cold for painting. So instead of sharing an update on the desk (which has no new info)… how about some other projects?
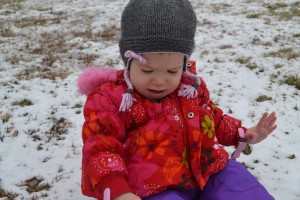
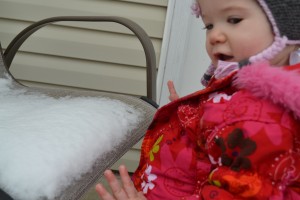
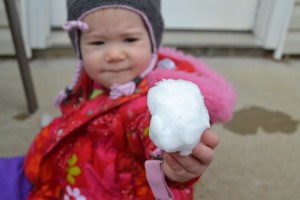
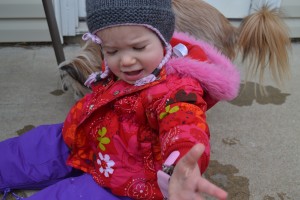
But first, a cute baby and her first snow.
Nice teaser, now on to business:
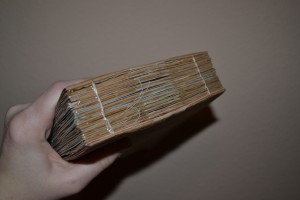
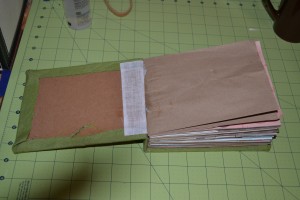
Any idea what you’re looking at there? Oh, just me trying my hand at book binding. Back when I was pregnant, we started taking weekly belly pics to document this miracle as it happened. As a part-time scrapbooker, I thought I’d do something creative with them. A gal from my church told me about how she made a scrapbook out of brown paper lunch sacks. (If you want the details, this is an excellent tute video that I watched before I actually started.) It took me more than a year post-baby to complete it (and I started well pre-baby), but I finally put everything together. Then… I had to actually put the book together.
In the previous pic, you’re seeing the pages sewn together (using an embroidery needle and extra strong “Button Crafting” thread) and then glued them together using clear gel Tacky Glue.
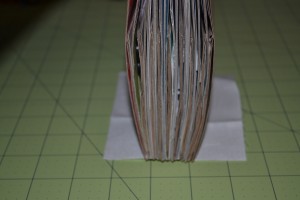
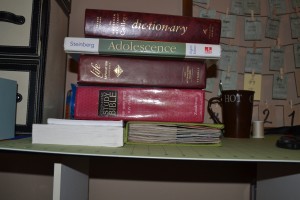
Then I let it dry overnight under some heavy books. Lots of heavy books.
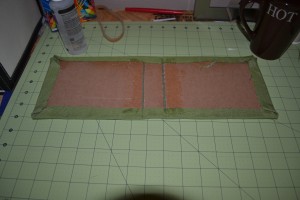
Next I glued the book to the binding with the same tacky glue. This is just a piece of broadcloth fabric (I think it’s technically muslin) cut to the height of the book and a few inches on either side. (Notice I didn’t actually get it centered? No big deal though.)
While that was drying, I made the cover. I cut a piece of thin corrugated cardboard to roughly the side of the book; two sides and one spine. You could use chipboard, a cereal box, whatever you have on hand. Covered it with fabric. I used spray adhesive to attach it because I didn’t want a bunch of gloppy glue. You can attach it however you please. Leave 1/4 inch between the spine and each side so the book will close when it’s all said and done.
Next, I glued the back side of the fabric to the front inside of the cover, like above. And the back side of the back of the fabric to the back inside of the cover. Do NOT glue the middle of the binding to the spine of the book. That’s what give it the flexibility to open.
More heavy books.
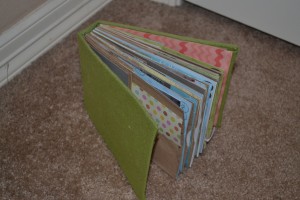
Then you can glue a piece of paper covering the front of the cover and the first page. However, when I took my book out, the first page managed to glue itself to the cover on its own. No big deal, as I hadn’t intended to put anything on that page anyways. That just means when you open the cover, you’re opening to the first page. Guess that’s ok with me.
Not entirely finished, I still need about 4 pictures to complete it, but at least it’s bound and once I get those pics printed, I can just stick them in and call it done!
If you’re want more in-depth info on book-binding, I used a hybrid of this pin and this tutorial. Mostly the pin, as I sewed mine together.
Now… more cute baby!!
“Well, this is pretty.”
“A snowball? For me?”
“Mom, why didn’t you tell me it was so cold!?”
Yeah, that’s all the snow we got. Sad, I know. But we finally made use of her snow suit!

