
I wrote this in October and apparently never posted it. Ooops. So here’s the story of my coffee table, a little late.
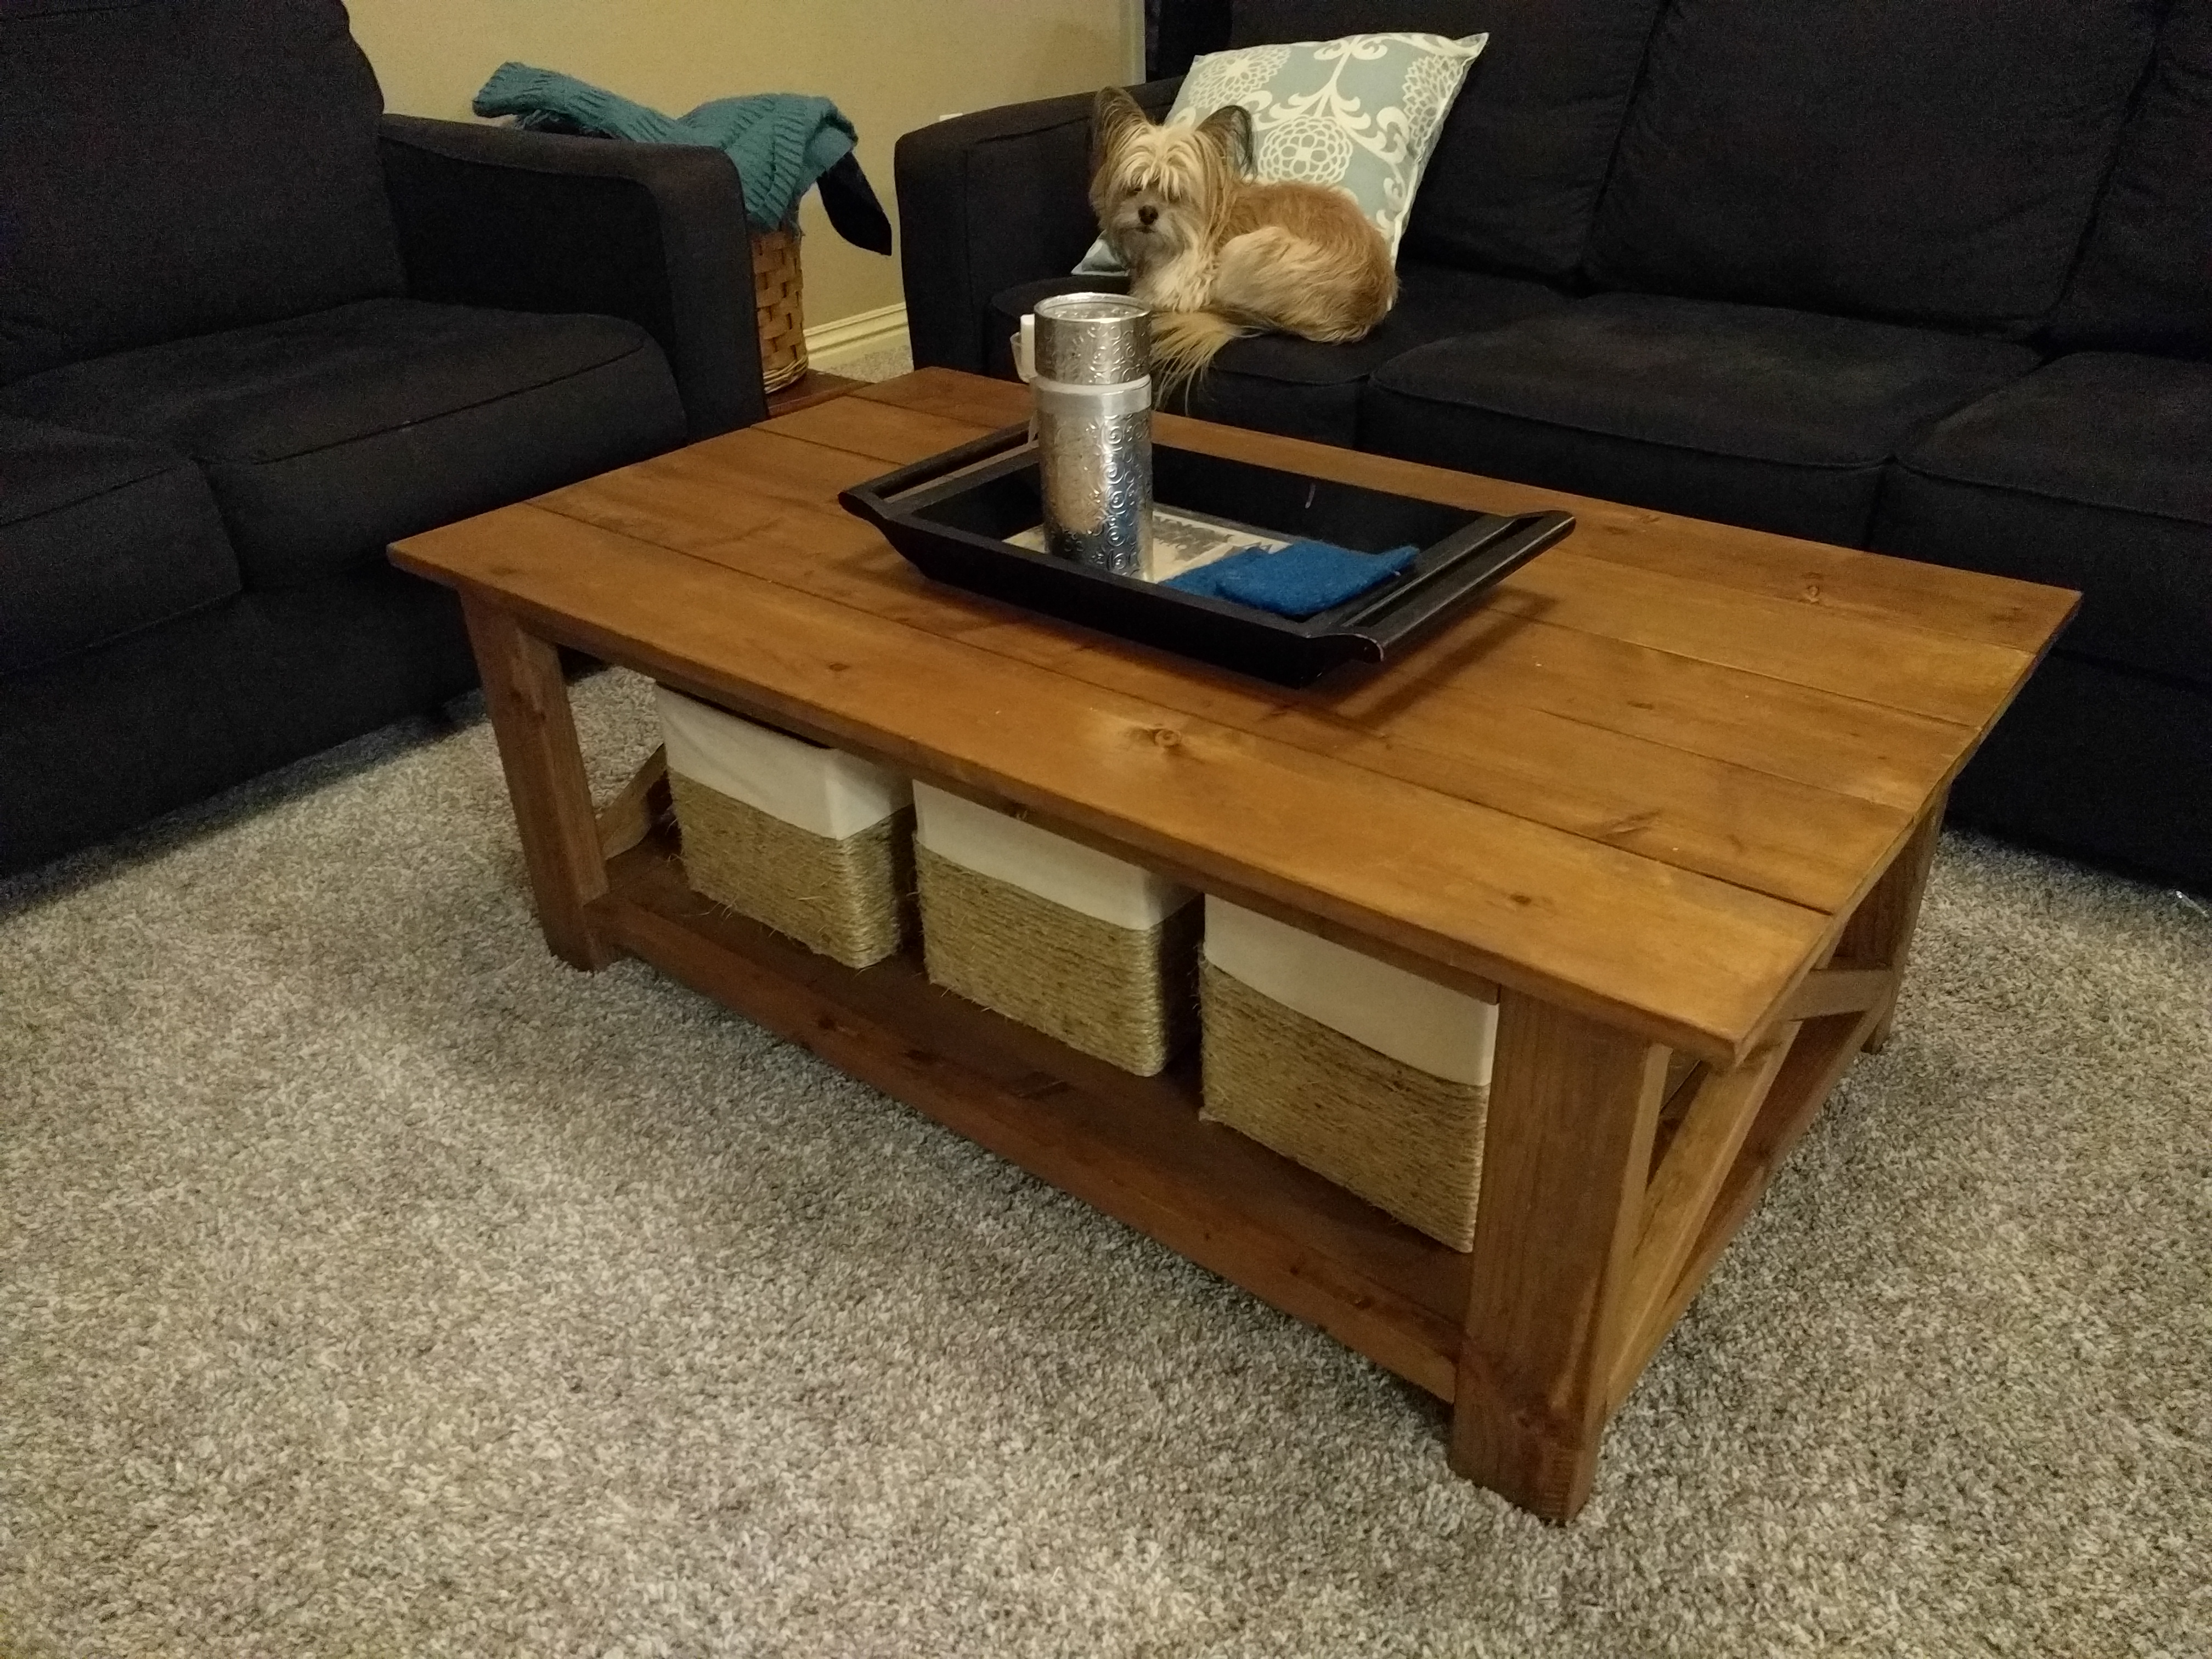
With a lot of help from my sister-in-law and brother-in-law, we made a coffee table to celebrate my birthday last month.
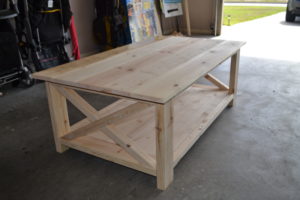
We used an Anna White tutorial, which was fairly helpful, but seems a bit too simplified. Just some tweaks we made: First, we were concerned that the bottom shelf would separate over time and with any amount of weight on it. Having two little ones, that’s a real possibility. So we added a piece of scrap wood underneath, between the two. You’ll see it a little later when I’m showing the color treatment I used.
Second, I accidentally bought 1×6’s instead of 2×6’s. The buy list on the tutorial says there should be five 8′ cut to 56″. This seemed like a lot of waste to me, so originally I bought 6′. But since I was making my table 4′, I took four back and got two 8′ pieces to cut in half then the last 6′ cut to match. I actually like the look of the thinner wood, but it took some finesse to figure out how to attach them properly. There is a thin strip of scrap wood that they’re all attached with 3/4″ screws to on the back side while they were upside down. Leaving it upside down, we positioned the bottom on it and screwed it in from the bottom with shorter screws than were recommended. So far, no shifting, but we have been careful not to pick it up by the top alone, just in case. Also, with the thinner wood, we couldn’t add the cute little brackets because they would stick out over the edge, but I can live with that.
Lastly, the X’s on the end were a bit tricky. We were using their miter saw, which made it really easy to cut pieces… but it only goes up to like 50 degrees. The long edges of those X’s needed a 60 degree cut. So we learned, via youtube how to make a jig to angle the wood a bit more. With each piece, we measured, then cut and installed, and then measured the next part. If you try to simply cut everything first, it may not go as well. In addition, we did that with any pieces that were supposed to be the same length. We measured the first and cut it, then used it as the template for the rest. They came out practically all the same, whereas measuring each one and cutting there may have been some error with the blade width and which side of the pencil mark was cut, etc.
So then, what to do to finish it? I had heard of this oxidization on the original plan, and I loved the look it. I’ve stained before, and it was an ordeal, so I thought maybe this would be a bit simpler. With this first picture, I had painted the strong tea to help with the tannins of the wood. It didn’t really make a difference after it was dry, and in the long run may have not made much difference in the coloring either.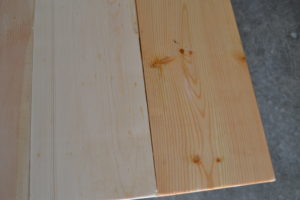
After the tea had dried, I started with the oxidizing solution. A few weeks before, I had put a piece of steel wool in a glass jar with vinegar and put the lid on to sit. I made the mistake of buying the #3000 instead of the #1000, but it actually worked just fine. I decided to try it out on the bottom first. You’ll notice the little brace we made so the bottom shelf wouldn’t separate.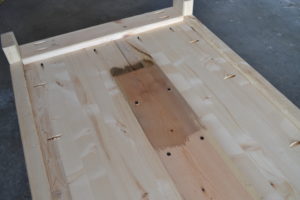
Here we are fully “painted” with the vinegar solution.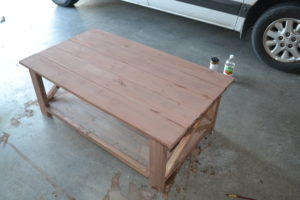
But then I noticed something I was not happy with. Everywhere it dripped was darker. And since it’s very viscous (unlike some stains), it dripped everywhere. Even if you brushed over something accidentally, when you came back, it would streak darker. Sad day. I let it dry and gave it some thought.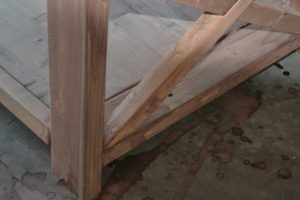
The next day, I returned with a vinegar wet rag and gave those places some attention. The extra vinegar (and sometime the solution) would loosen up the extra particles on the dark spots and with some extra rubbing most of them smoothed out. I’d paint over them, and let them sit to soak into the wood, and then I’d rub them out with the rag. My hands were dry as all get out (should have worn gloves!) but I fixed it.
The last step was to seal it. I decided to go with a clear wax to seal in all this glory because I really don’t like working with polyurethane. I’m not sure it will hold it’s shine with all the children that will play on it, but it definitely rehydrated the wood after drying of the vinegar. It’s a nice smooth surface and if I ever decide to do a gray washing on it, it can be painted over (and might even help with the distressing.
I spent $59 on lumber at Lowe’s (accounting for returns) and $5.95 for screws. For finishing, I spent about $10 for steel wool, vinegar and sandpaper. For a grand total of a few cents under $75. Well worth it!