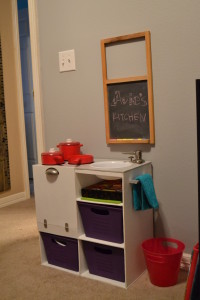
For Avie’s birthday, we decided that it would be really fun to give her a play kitchen for all of her kitchen-type itmes to go. After checking out the plastic ones that are rather cheaply made, but not cheap… I though, “hey, I can make one.” And then, after looking for an end-table to turn into a kitchen, immediately regretted that decision.
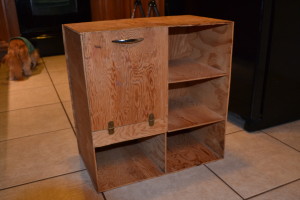
But, my parents (and siblings) graciously let me have this one:
It was ours that my parents built when we were kids.
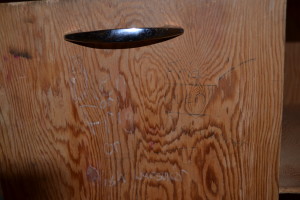
It still bore the marks of being well used and well loved. (Yep, that’s my writing, in white crayon, to let you know what appliance it was that day.)
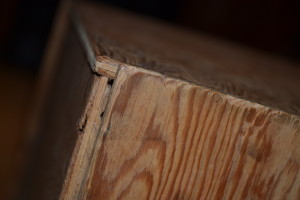
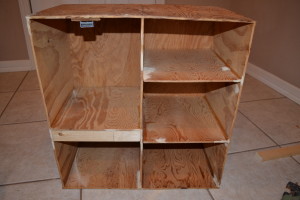
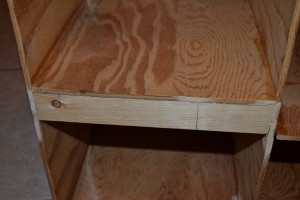
After a little clean up, some sanding and some filling of holes (some I created when moving the shelves). It was looking a little better. I added a support piece under the oven door and I moved the bottom 2 shelves up a bit so that the baskets I bought would fit. (Baskets that side are remarkably hard to find!) And I learned just what a craftsman my parents must have been to use tiny brads and hit right in the center of each of those shelves… with 4 or 5 different nails per side. I managed to split out the bottom of quite a few. :-/
A close up of the new support.
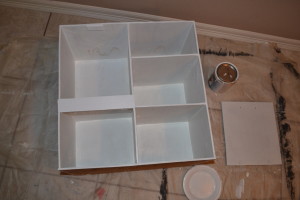
And then a coat of paint (or two… or three… because who primes. right?)
Next we decided to add a sink to help the creativity along. So I found a nice big, shallow bowl at the Dollar Tree (2 for $1!!), took some drawer knobs from my in-law’s stash, and begged them for a faucet idea. They found an extra soap dispenser that worked just perfectly!
Here’s the circle I drew around the outside lip and then in to where I wanted it to rest. I drilled a pilot hole…
Then I went to town with the jig saw. I won’t show you what I actually cut because I’m a little embarrassed, but you know what? It’s covered by the bowl.
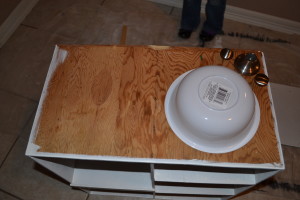
Ah, it fits nicely. You’ll also notice that I added a smaller support to the front under the sink, since cutting it made the wood a little unstable there.
All the component assembled.
Painting the top. I mean, the counter top has to be a different color, right?
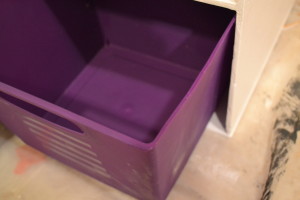
One of my baskets (again, from the Dollar Tree) was a little too snug. I don’t really know why because all of the shelves are the same size and same width, but it just wouldn’t slide in easily. So with the help of a hack saw, I trimmed the edges just a bit. Then, using a lighter, I melted the raw edges just slightly so that they wouldn’t be rough.
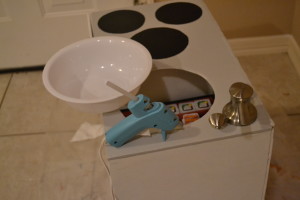 Lastly, I hot glued the sink in. It didn’t stay, so I still need to caulk it or something, but it’s ok for now.
One final touch was a wide drawer pull to use as a towel rod and I forgot to mention that I painted the original hinges (which were brass colored) with brushed nickle spray paint and stole another drawer pull from my in-law’s stash. I found a cute little chalk board that Ansen’s grandma gave us that didn’t have a home yet to finish off her kitchen space. It did have a cork board in the top part… for like a day and a half. Until somebody pulled it out.
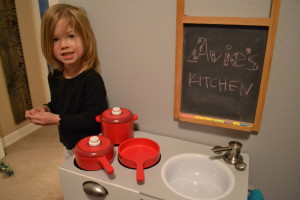 Avie is pretty pleased and has had so much fun making pie and dinner and breakfast, and cracking an old Easter egg to have “egg raw” as she calls it. It’s so neat to see her little imagination working and growing. While three might be quite an emotional roller coaster, it’s also full of fun surprises and new developments.

